
Troubleshooting
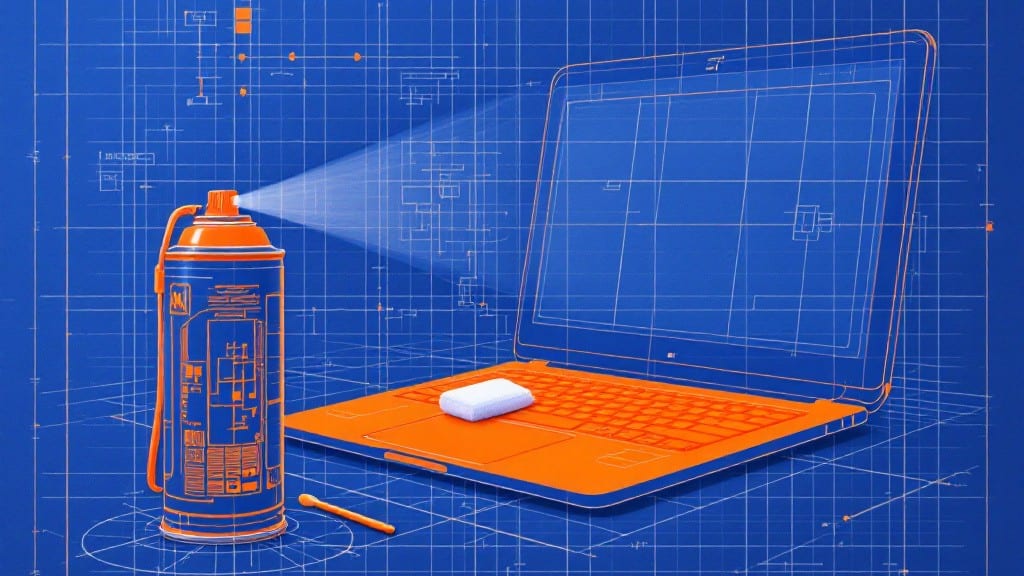
Cleaning a laptop keyboard properly takes just 15 minutes—and I’ve saved more than a few keyboards from permanent damage by doing it right. 💻 The compressed air and cotton swab method works on every laptop, from my 1998 ThinkPad relic to the latest MacBooks, but the key is patience.
One wrong move with liquid can turn a $1,200 machine into a paperweight, so we’ll focus on dry methods that actually work.
You’ll need three tools and a little prep: a can of compressed air (the kind with a narrow nozzle), a set of cotton swabs (the skinny ones), and a microfiber cloth for the edges.
Power off your laptop and remove the battery if possible—this isn’t just safety advice, it’s the difference between a quick cleanup and a trip to the repair shop. For stubborn debris, a plastic pry tool (or the edge of a credit card) helps lift keys without damaging the hinges.
Start with the compressed air—hold the can upright and use short bursts (3-5 seconds max) to blow out debris between keys. Angle the nozzle to avoid blowing dust deeper into the keyboard. Then, use a damp (not wet) cotton swab to wipe away sticky residue or old keycap grime.
For keys that stick, gently lift them with the pry tool and clean underneath—this is where 90% of the gunk hides. Most laptops will feel noticeably cleaner after this step, and keys will move smoothly again.
To keep your keyboard in shape, flip it upside down and shake it out weekly—this catches debris before it becomes embedded. Avoid eating near your laptop (yes, I’ve learned this the hard way), and consider a keyboard cover if you work in dusty environments.
The time you spend cleaning now will save you from replacing a keyboard later, and trust me, I’ve replaced enough of them to know the difference.
📚 In This Guide
- What you need
- Instructions
- Tips and common mistakes
- Wrapping up and next steps
What you need
- ● Compressed air (8-12 oz canister) – Look for a can with a precision nozzle for better control.
- ● Cotton swabs (5-10) – Unscented and lint-free work best to avoid leaving residue.
- ● Isopropyl alcohol (70% or higher, 1-2 oz) – For disinfecting and dissolving stubborn grime.
- ● Microfiber cloth or lint-free wipe – To gently dry and polish keys.
- ○ Small Phillips-head screwdriver (optional but helpful) – Only if you plan to remove keys for deep cleaning.
- ● Soft-bristle toothbrush – For scrubbing between keys without scratching.
- ● Keycap puller tool – If your laptop has removable keys (check compatibility first!).
- ● Vacuum with a narrow attachment – For sucking out loose debris before cleaning.
- ● Rubbing alcohol wipes – Convenient for quick spot-cleaning.
Step-by-Step instructions for reviving your laptop keyboard
Here's the foolproof method I use to get crumbs, dust, and sticky residue out without risking damage.
🔧 Step 1: Power Down and Prepare Your Workspace
Start by shutting down your laptop completely and unplugging the power cable. I always remove the battery if it's removable—this prevents any accidental power surges during cleaning. Place your laptop on a clean, flat surface with the keyboard facing up.
Gather your cleaning supplies nearby: a compressed air canister, cotton swabs, and a soft microfiber cloth. Avoid paper towels or rough materials—they can scratch the keyboard surface. Work in a well-ventilated area to keep dust from settling back into the keys.
⚡ Step 2: Blow Out Loose Debris First
Hold the compressed air canister upright (never upside down) and spray short bursts into the gaps between keys. I like to tilt the canister slightly to direct the airflow into tight spaces—this loosens stuck crumbs and dust without blasting them deeper. Keep the nozzle 2-3 inches away from the keyboard to avoid moisture buildup.
Work methodically from one corner to the other, focusing on areas where debris tends to accumulate: the spacebar, arrow keys, and the top row near the function keys. You'll hear crumbs pop out—that's the goal. If a key feels loose, don't force it; we'll address that in the next step.
💡 Step 3: Clean Key Surfaces with Precision
Dip a cotton swab into a tiny amount of isopropyl alcohol (70% or higher)—just enough to dampen the tip, not soak it. Wipe down each key's surface in a circular motion, starting with the most visible keys like letters and numbers. For stubborn grime, gently press down without scrubbing too hard.
Pay special attention to the spacebar and shift keys—they collect the most residue. If you notice sticky residue, use a fresh swab and apply slightly more pressure. Avoid getting liquid into the key switches themselves; we're only cleaning the top surfaces at this stage.
🖥️ Step 4: Address Stubborn Keys and Gaps
For keys that feel stiff or have debris lodged underneath, use a plastic pry tool (like a credit card or the edge of a cotton swab) to gently lift the keycaps. Insert it into the gap between the key and its frame, then wiggle it slightly to dislodge stuck particles. Never use metal tools—plastic prevents scratching the keyboard frame.
Once a keycap is loose, blow out any remaining debris with the compressed air. Wipe the underside of the keycap with the alcohol-dampened cotton swab, then press it firmly back into place. Listen for a satisfying click—that means it's seated properly. Repeat for any other stubborn keys.
⏰ Step 5: Final Polish and Test
Once all keys are clean and dry, give the entire keyboard a final wipe with a dry microfiber cloth to remove any residual moisture. This step prevents any liquid from seeping into the keyboard electronics during the next boot-up. Let the laptop sit uncovered for 5-10 minutes to ensure everything is completely dry.
Reconnect the battery (if removed) and power cable, then boot up your laptop. Test each key to ensure it registers properly. If any keys feel mushy or don't respond, repeat the cleaning process for that specific key—it likely has deeper debris that needs attention.
Tips & tricks for perfect laptop keyboard cleaning
Here's what I learned the hard way after ruining three keyboards with moisture—these tricks keep your tech safe while getting it sparkling clean.
Compressed Air Technique: In Step 2, when using the compressed air canister, I can't stress enough how important it is to keep the nozzle 2-3 inches away from the keyboard. I learned this after seeing moisture seep into a keyboard that was too close—now I treat it like a snow cannon, not a spray bottle. Short bursts work best; continuous spraying can push debris deeper into the gaps. Also, never hold the canister upside down—this can release oil from the canister that'll leave a sticky residue.
Alcohol Concentration Matters: For Step 3, I always use 70% or higher isopropyl alcohol—this concentration kills bacteria while evaporating quickly. Lower concentrations (like 50%) won't evaporate fast enough and can leave your keyboard damp, which is a recipe for disaster. Dip your cotton swab just enough to dampen it; you shouldn't see liquid dripping. For really stubborn sticky residue on spacebars, I'll use a fresh swab with a tiny drop of alcohol—just enough to break it down without soaking the key.
Key Removal Safety: In Step 4, when dealing with stubborn keys, I've found that a plastic pry tool works best—credit cards are my go-to, but I've also used the edge of a cotton swab for very tight spaces. The key is to insert it at a slight angle between the keycap and frame, then wiggle gently. Never use metal tools—once I tried a butter knife and ended up scratching the keyboard frame. If a keycap feels too tight, don't force it; you might damage the switch mechanism underneath.
Drying Time is Critical: The 5-10 minute drying time in Step 5 is non-negotiable. I've seen people skip this and power up their laptops too soon, only to have liquid seep into the keyboard electronics. Place your laptop in a well-ventilated area during this time—fans can help speed up evaporation. I'll often leave it near an open window or use a small desk fan pointed at it. You'll know it's ready when all the keys feel completely dry to the touch.
Pro Tips for Clean A Laptop Keyboard
- Here's what I learned the hard way after ruining three keyboards with moisture—these tricks keep your tech safe while getting it sparkling clean.
- Compressed Air Technique: In Step 2, when using the compressed air canister, I can't stress enough how important it is to keep the nozzle 2-3 inches away from the keyboard.
- Alcohol Concentration Matters: For Step 3, I always use 70% or higher isopropyl alcohol—this concentration kills bacteria while evaporating quickly.
Frequently asked questions
Got questions about cleaning your laptop keyboard? You’re not alone—here are some of the most common concerns and quick answers to keep your keys crisp and functional!
How often should I clean my laptop keyboard?
Clean your keyboard at least once a month if you use it daily, or more often if you eat/drink near it. Dust and debris build up fast, and crumbs can get lodged between keys. A quick wipe-down with a microfiber cloth every few weeks also helps!
Is it safe to use water or wet wipes on my keyboard?
No! Water can damage circuits and void warranties. Stick to dry methods like compressed air, cotton swabs, or isopropyl alcohol (70% or higher) on a cloth. For stubborn grime, dab lightly—never pour or soak.
What if compressed air doesn’t work?
Are there alternatives?
If debris is stuck, try these steps:
- Toothpick or tweezers: Gently pry out crumbs (unplug your laptop first!)
- Rubber suction cup: Lift stuck keys carefully to access hidden gunk.
- Keyboard cleaning kits: Some include angled brushes for tight spaces.
How long should I wait before using the keyboard after cleaning?
Let it air dry for 10–15 minutes after using alcohol or compressed air. Avoid typing until fully dry to prevent moisture damage. If you used a damp cloth, wait 30+ minutes—better safe than sorry!
Why does my keyboard feel sticky or unresponsive after cleaning?
Sticky keys often mean leftover residue (like food or lotion). Reclean with isopropyl alcohol on a cotton swab, focusing on the key edges. If keys still stick, check for physical damage (e.g., bent keys) or consider a keyboard cover to protect it.
Wrapping up and next steps
Cleaning your laptop keyboard doesn’t have to be a daunting task—with the right tools and a little patience, you can keep it fresh and functional! 🌟 Whether you used compressed air, cotton swabs, or a soft brush, the key is consistency and gentleness.
Now that you’ve tackled the grime, take a moment to appreciate how much smoother typing feels—your fingers (and future keys) will thank you!
Ready for the next step? Protect your clean keyboard by:
- Using a keyboard cover when eating or drinking nearby.
- Lifting the laptop instead of typing while it’s on your lap.
- Scheduling a quick wipe-down every few weeks to prevent buildup.